
3 great science experiments for your school lab
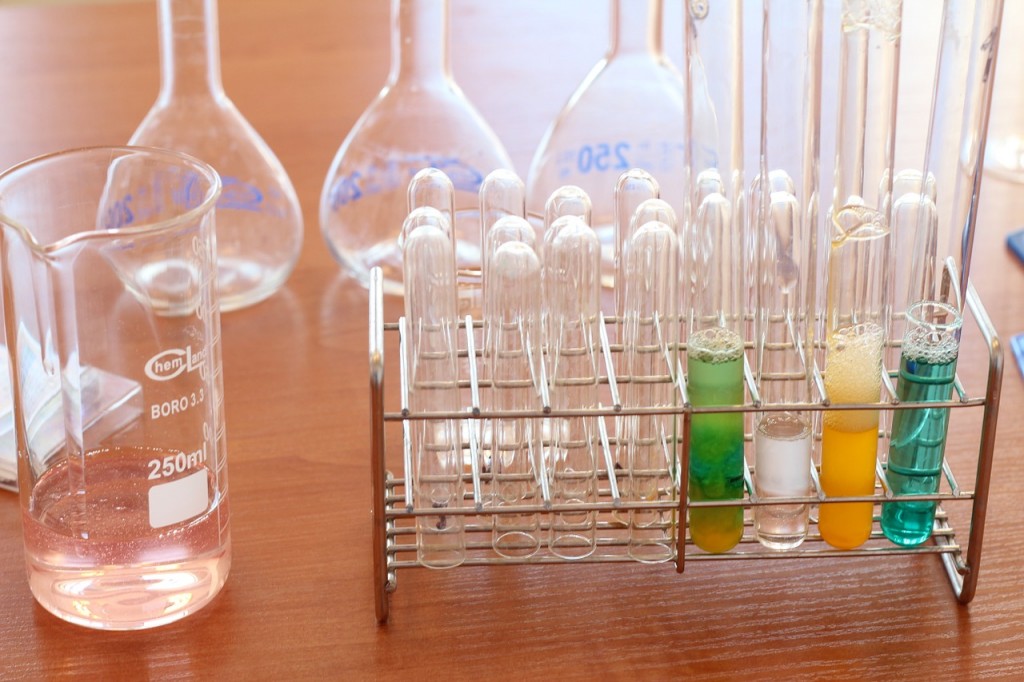
Science experiments are a great way to get the kids engaged in STEM subjects. However, they can be a bit messy. You don’t need to worry about that anymore with a top notch lab washer, so try these three messy experiments with your class!
Nothing grabs the kids’ attention like a good old science experiment, and the messy ones are always the best!
However, some teachers choose not to conduct these experiments as the clean-up often eats into vital learning time for the students. They instead opt for videos of experiments or even textbook explanations – nowhere near as engaging as letting your students try it for themselves.
Forget the clean-up for a moment, what could you do to get the students involved at your school?
3 science experiments to try with your students:
There are plenty of fun experiments that will get the kids back in the science lab. Here are some of our favourites:
1. Create non-Newtonian fluid
In a glass bowl or flask, mix cornstarch and water to create this unusual fluid.
Get the students to poke and prod it, and see what happens. If they tap it hard/fast enough, the atoms will rearrange so the fluid acts like a solid. Put the mixture next to a speaker to see its full effects. It’ll probably freak them out a bit – in a good way! – but this lesson will stay with them forever.
Your students will learn about: The formation of atoms, forces and viscosity.
2. Make dry ice bubbles
Use a bowl with a lip around the top – this is where the magic will happen. Put some dry ice in there and let it simmer.
In a flask, soak strips of cloth in a soapy solution for a few minutes. Then, without getting any of the soap into the bowl, wipe the cloth around the rim of the bowl.
Then, stretch the cloth across the bowl and pull it from one side to the other to form a layer of soap. This will form a bubble that gets bigger and bigger until it explodes!
Add some food colouring to the mixture to make colourful bubbles!
Your students will learn about: Transformation from solid to gas, sublimation and the uses of C02.
3. Find out how glow sticks work
Students of all ages are fans of glow sticks. But do they really know how they work? Here’s your chance to explain:
First make sure that your students are wearing proper safety equipment – latex gloves and lab goggles.
Each group should have three flasks – 10ml of Diethyl Phthalate and 50mg of TCPO, 100mg of sodium acetate and 3ml of 30% hydrogen peroxide.
Add 3mg of the chosen fluorescent dye to the Diethyl Phthalate. This will add colour – usually green, yellow, blue or red. Mix half yellow, half blue to create white.
Add the TCPO to the mix, then the sodium acetate. Pour this mixture between the flasks to shake up the components.
Pour again, and turn off the lights. Your container should be glowing brightly!
Your students will learn about: Bioluminescence, activators, chemiluminescence and chemical reactions.
So how do you get around the lengthy clean-up operation? A top of the range lab glassware washer will clean those flasks and test tubes quickly and efficiently so you don’t have to worry about the mess.
So get your hands dirty by trying out these experiments, and give new energy to your science lessons!
To find out more about our lab washers and other equipment, get in touch today!